App StoreOne-time purchase/Global Routing · ConfigRules are checked in order
SETTINGS / From connection mode to rule order
Rules & Routing and On Demand
First confirm that your existing server connects manually, then add rules and automation conditions one at a time. If something goes wrong, undo changes in reverse order; it’s easier to identify the cause than when several settings change at once.
GLOBAL ROUTING
Select Config, then check your rules
In Global Routing, Config, Proxy, and Direct select how traffic is handled. Config uses the active configuration file to determine where requests go; Proxy uses the selected proxy; Direct connects directly. For rule-based routing, select Config first, then check which file is enabled under Config. Rules are matched from top to bottom, and the policy for the first match is applied. Put specific domain conditions before broader ones, and place FINAL at the end. PROXY, DIRECT, and REJECT send traffic through a proxy, connect directly, and reject it, respectively. A rule’s presence alone does not mean it matched.
On Demand triggers connections based on network or domain conditions; it does not fix server settings or an expired subscription. Before opening On Demand in Settings, turn off automation and confirm that manual connection and access to your intended destination both work. Then configure conditions for Wi-Fi, cellular networks, and domains as needed, testing each trigger individually. If you have multiple conditions, check their order and scope to prevent a broad condition from matching first. If the connection keeps turning back on, check these settings instead of repeatedly toggling the connection switch on Home.
Shadowrocket supports protocols including Shadowsocks, VMess, VLESS, Trojan, Hysteria2, and WireGuard. To add your own existing server, check Type in Add Server first, then enter the remaining fields using your server details. Protocols differ in their authentication, transport, and encryption requirements, so don’t reuse one set of parameters for another type. After importing shared details, check Host, Port, and the relevant authentication settings. Any TLS or transport options should match the actual server configuration. A protocol name alone does not indicate how well a connection will work on a particular network.
Have your own subscription link ready, choose Subscribe in Add Server, and enter the link and a recognizable name. After saving, update the subscription and check that its contents appear in the SERVER group on Home, then select the server you want to use. A successful update only confirms that the contents were retrieved; it does not mean every server can connect. If the list is empty, check that the link is complete and still valid, and that its response is usable. Subscription links may contain access credentials, so redact sensitive parts when troubleshooting. Keep your original information before deleting anything so you have what you need to restore it.
Understand the difference between server lists and configuration files
Server details determine where to connect; configuration files in Config determine how requests are handled. They are not interchangeable. Keep a copy of the file that currently works before editing, check sections such as General and Rule, and make one change at a time. After saving rule changes, confirm that the intended file is active and that Global Routing is set to Config. To keep settings in sync between devices, check the iCloud sync options available in the app and your account status, then verify the result on the other device. Don’t treat sync as a substitute for a backup. When troubleshooting, return to a configuration you’ve already verified.
Check test results separately from real-world access
Connectivity Test helps assess connection performance, but a single test cannot replace trying the actual destination. First confirm the device itself is online, then check the selected server, Global Routing, and the active Config. If the issue persists, review Diagnostics in Settings. Data can help you observe traffic changes, but use the figures displayed in the app; they are not necessarily the remaining allowance on your subscription. When recording an issue, note the network type, steps taken, and error message, while redacting subscription links and authentication details. Change one condition at a time and retest the same destination to compare results.
Work through the guide in this order: existing details → connection status → routing mode → automation. You don’t need to configure everything at once. First import your details and confirm that manual access works; then decide whether to use rules, and configure On Demand last. The rule file on this page illustrates syntax only. example.com is a sample domain, not a ready-to-use configuration for your needs. Choose policies based on the destinations you want to access.
DEVICES / Purchase and first launch
How to get it on iPhone and iPad Guide
The App Store is the only place to get the app. First check your current storefront and purchasing account, then confirm compatibility. Purchasing the app, adding your existing subscription, and allowing a VPN configuration are separate steps, and each must be completed.
Shadowrocket is also available from the same App Store on Mac and Apple TV; check the storefront’s compatibility details. System requirements for all devices are as listed on the App Store page.
If the store shows a purchase button but you think you’ve already bought the app, first check the account used for Media & Purchases. The account used for iCloud may differ from your App Store purchasing account; check the account that actually has the purchase record. Then look in your purchases to avoid paying again before verifying. Restoring the app and restoring its configuration are separate tasks: reinstalling does not bring back personal server details you deleted.
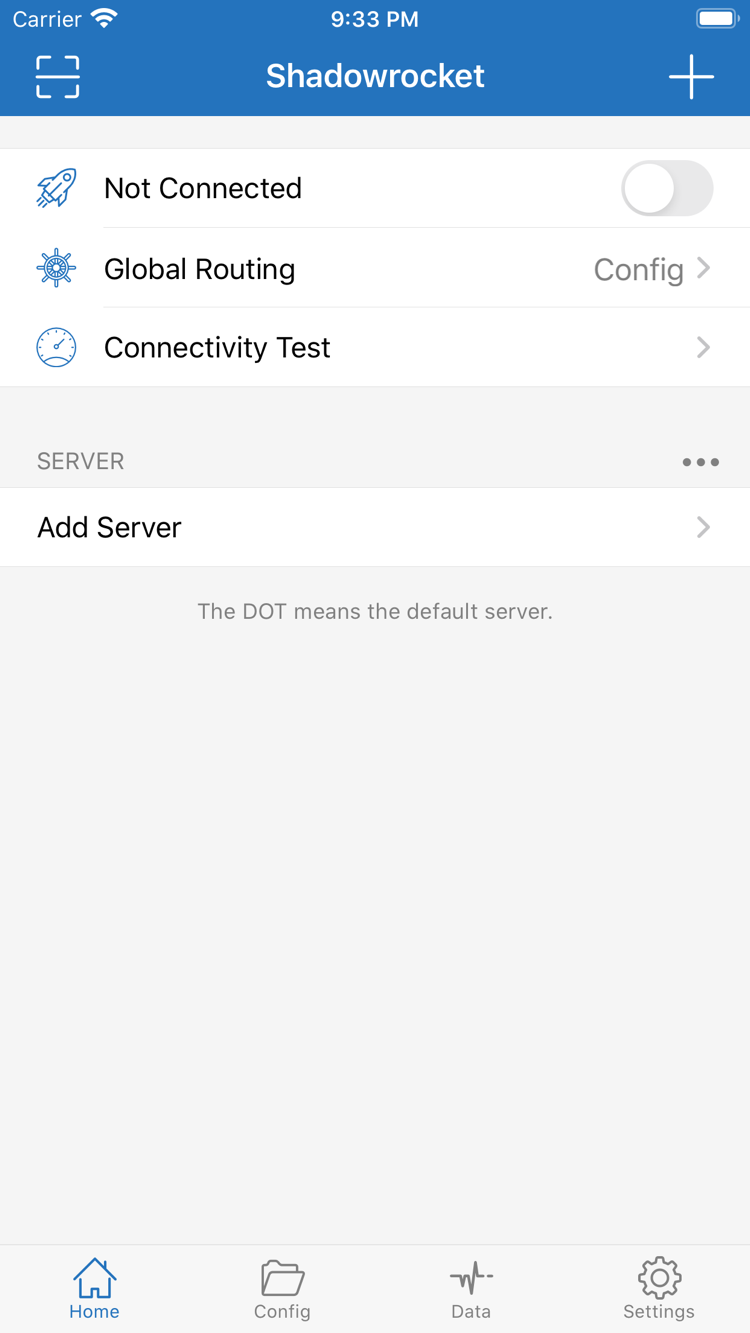
After first launch, locate Global Routing, SERVER, and Add Server on Home, then import your own details. Once a manual connection works, note the network and configuration name. When moving to another device, follow the same checks to distinguish a purchase entitlement issue from a system permission or server settings issue. VPN status shows the system’s connection state; you still need to test whether the intended destination is accessible.
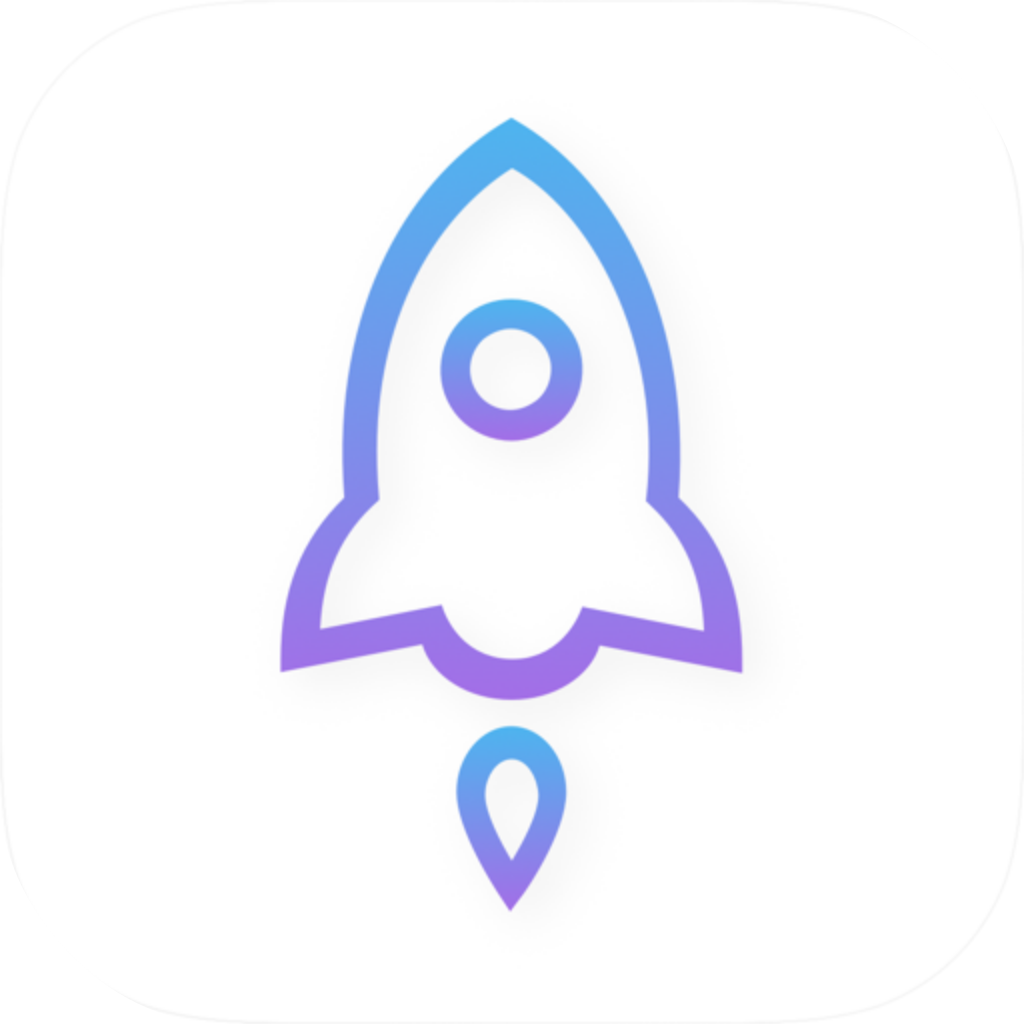
Shadowrocket is a closed-source commercial app. Verify that you have the genuine app by checking the developer, official icon, and App ID on its App Store product page; search ranking or an informal name alone is not enough.
On the product page, confirm that the developer is Shadow Launch Technology Limited, the app is named Shadowrocket, and its icon matches the official icon shown here. Then check for id932747118 in the product page URL. Some users in Chinese-speaking regions also call it Shadowrocket by a Chinese nickname, but a nickname is not a unique identifier. Similar names, colors, or a high search ranking are no substitute for checking all three details.
Don’t rely on just one detail. A similar-looking icon alone cannot confirm an app’s identity, and you should check the developer even if the name matches. If the three details don’t line up, stop and verify the product page before purchasing. The App Store link on this site points to the same App ID; after opening it, confirm the displayed price, storefront availability, and device compatibility.
App Store visibility depends on your purchasing account’s region
The apps shown in the App Store depend on the storefront associated with your Apple Account. If you can’t find Shadowrocket, open Media & Purchases in your device settings and check the signed-in account and its country or region, then review the product page message. Device language, system region, and storefront region are separate settings; changing the display language alone does not change your storefront.
Being able to view a product page in one storefront doesn’t guarantee that your purchasing account can complete the transaction. If the page says the app is unavailable, follow what your current storefront displays. Before changing your account region, check relevant requirements such as your balance, existing subscriptions, and payment method. Changing regions is not a universal fix for App Store availability. For the full verification process, see the genuine app guide; you don’t need to change account settings just to read this site.
One-time purchase and displayed price
Shadowrocket is a one-time purchase. The US reference price is $2.99; other storefronts display local currency, and the final price is shown on the payment confirmation screen. The purchase gives you the right to use the client; it does not indicate whether a particular server is available or create a subscription for you. If you’re asked to pay again, check your purchase history, account, and app identity before proceeding.
Check the validity period, data allowance, and server maintenance status of an existing subscription using information from that subscription itself; these details cannot be inferred from App Store purchase history. Likewise, a successful subscription update does not confirm which account purchased the app. Keep your app purchase entitlement and connection details documented separately so you can find the right information when changing devices or troubleshooting.
Purchasing and restoring purchases across two devices
To use Shadowrocket on iPad after purchasing it on iPhone, first use the same purchasing account to find the app in your purchases and check the product page on that device. Whether the purchase can be shared between the two devices, and its compatibility, are as stated on the App Store page. To restore the app, open the correct product from your purchased items rather than searching for a similar app based on an old screenshot or memory.
Check the app’s App Store details and your Family Sharing settings to see whether sharing is available; being in the same family does not mean every purchase is automatically shared. After reinstalling, check the device’s Config, existing server details, and system connection permission. If you didn’t keep a copy of your configuration, purchase history alone cannot restore its rules and authentication settings.
Check app updates and configuration updates separately
App updates are delivered through the App Store. Refer to the store page for update notes and current compatibility. Updating a subscription retrieves new content from your existing subscription; editing or replacing a Config is a separate operation. These changes can affect different parts of your setup, so note which one you just made when troubleshooting instead of referring to all of them simply as an “update.”
Keep a copy of your original configuration before changing rules. After updating a subscription, check whether the server you had selected is still listed. After an app update, review any permissions again if prompted by the system. Changing one condition at a time preserves a useful before-and-after comparison. Don’t delete everything in an attempt to fix the issue; you could lose both the original settings and the information needed to reproduce the problem.
Break connection issues into checks you can verify
If a connection fails, first confirm that the device is online. Then check that your subscription was imported and that the intended server is selected, followed by Global Routing and the active Config. Once these basics are verified, Connectivity Test and diagnostics are easier to interpret. If the issue changes when you switch networks, note whether you’re using Wi-Fi or cellular, whether On Demand is enabled, and whether the problem occurs only with a particular destination.
Diagnostics may contain server addresses, subscription credentials, and browsing records. When describing an issue to someone else, include the error message and steps to reproduce it, but redact authentication details and private links first. “It won’t connect” is not enough to tell whether the import failed, the server is unreachable, DNS failed, or the wrong rule matched. Recording symptoms by step is more useful than repeatedly changing every setting.
These checks also apply to configurations you’ve used for a while. A connection that worked before doesn’t guarantee that the server, subscription, or network conditions are still the same. Reproduce the issue, return to the last known working state, and note what changed before making one adjustment. For your own server settings, follow the actual server configuration rather than guessing based on the protocol name.
Follow the basic steps in order in the guide, and refer to the longer articles for rule details and automation conditions. The three articles below cover automatic connections, verifying the genuine app, and rule order. Choose the one that matches your current task; you don’t need to finish every advanced setting before connecting.
On Demand can automatically connect or disconnect based on network conditions. This article explains how to configure triggers for Wi-Fi SSIDs, cellular networks, and domains, and how multiple rules are applied. First verify that a manual connection works, then check the rule scope against your own network conditions.
Start by searching the App Store, then verify the developer, Shadow Launch Technology Limited, the official icon, and App ID 932747118. Complete the one-time purchase and download, and learn how to find the app in your purchases when changing devices. Check your account and the app’s identity before buying; search results alone are not verification.
Rules are checked one by one from top to bottom, and processing stops at the first match. This article covers keywords such as DOMAIN-SUFFIX and IP-CIDR, explains the three policies, and shows why FINAL must come last. Understand the result by checking the scope of each rule, not just whether a domain appears in the file.
If you encounter an unfamiliar interface term, use the quick reference to distinguish Subscribe, Config, and Global Routing before continuing. Protocol names and rule keywords remain in English so you can compare them with what the app displays. Examples in the articles explain specific concepts; they do not replace your own server details.